End-to-End Tutorial: Training a Neural Network with PyTorch and Xbatcher#
This tutorial demonstrates how to use xarray, xbatcher, and PyTorch to train a simple neural network on the FashionMNIST dataset.
Step 1: Setup#
Import the necessary libraries and load the dataset
[1]:
import matplotlib.pyplot as plt
import torch
import torch.nn as nn
import torch.optim as optim
import torch.utils.data
import xarray as xr

import xbatcher as xb
import xbatcher.loaders.torch
[2]:
ds = xr.open_dataset(
    's3://carbonplan-share/xbatcher/fashion-mnist-train.zarr',
    engine='zarr',
    chunks={},
    backend_kwargs={'storage_options': {'anon': True}},
)
ds
[2]:
<xarray.Dataset> Size: 189MB
Dimensions:  (sample: 60000, channel: 1, height: 28, width: 28)
Coordinates:
  * sample   (sample) int64 480kB 0 1 2 3 4 5 ... 59995 59996 59997 59998 59999
Dimensions without coordinates: channel, height, width
Data variables:
    images   (sample, channel, height, width) float32 188MB dask.array<chunksize=(7500, 1, 7, 7), meta=np.ndarray>
labels (sample) int64 480kB dask.array<chunksize=(30000,), meta=np.ndarray>[3]:
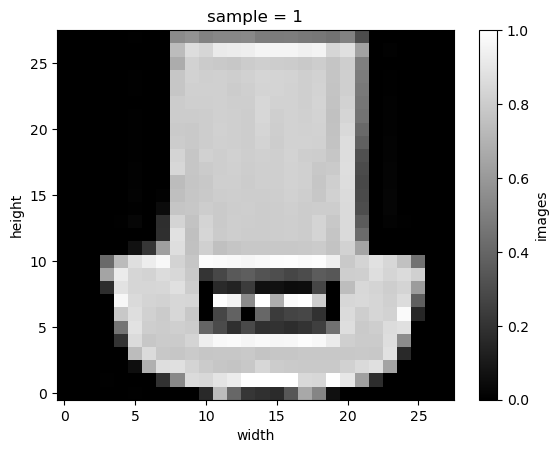
ds.sel(sample=1).images.plot(cmap='gray');
Step 2: Create batch generator and data loader#
We use xbatcher to create batch generators for the images (X_bgen) and labels (y_gen)
[4]:
# Define batch generators
X_bgen = xb.BatchGenerator(
    ds['images'],
    input_dims={'sample': 2000, 'channel': 1, 'height': 28, 'width': 28},
    preload_batch=False,
)
y_bgen = xb.BatchGenerator(
    ds['labels'], input_dims={'sample': 2000}, preload_batch=False
)
X_bgen[0]
[4]:
<xarray.DataArray 'images' (sample: 2000, channel: 1, height: 28, width: 28)> Size: 6MB
dask.array<getitem, shape=(2000, 1, 28, 28), dtype=float32, chunksize=(2000, 1, 7, 7), chunktype=numpy.ndarray>
Coordinates:
  * sample   (sample) int64 16kB 0 1 2 3 4 5 6 ... 1994 1995 1996 1997 1998 1999
Dimensions without coordinates: channel, height, width
[5]:
# Map batches to a PyTorch-compatible dataset
dataset = xbatcher.loaders.torch.MapDataset(X_bgen, y_bgen)
[6]:
# Create a DataLoader
train_dataloader = torch.utils.data.DataLoader(
    dataset,
    batch_size=None,  # Using batches defined by the dataset itself (via xbatcher)
    prefetch_factor=3,  # Prefetch up to 3 batches in advance to reduce data loading latency
    num_workers=4,  # Use 4 parallel worker processes to load data concurrently
    persistent_workers=True,  # Keep workers alive between epochs for faster subsequent epochs
    multiprocessing_context='forkserver',  # Use "forkserver" to spawn subprocesses, ensuring stability in multiprocessing
)
/home/docs/checkouts/readthedocs.org/user_builds/xbatcher/conda/latest/lib/python3.10/site-packages/torch/utils/data/dataloader.py:624: UserWarning: This DataLoader will create 4 worker processes in total. Our suggested max number of worker in current system is 2, which is smaller than what this DataLoader is going to create. Please be aware that excessive worker creation might get DataLoader running slow or even freeze, lower the worker number to avoid potential slowness/freeze if necessary.
  warnings.warn(
[7]:
train_features, train_labels = next(iter(train_dataloader))
[8]:
print(f'Feature batch shape: {train_features.size()}')
print(f'Labels batch shape: {train_labels.size()}')
img = train_features[0].squeeze()
label = train_labels[0]
plt.imshow(img, cmap='gray')
plt.show()
print(f'Label: {label}')
Feature batch shape: torch.Size([2000, 1, 28, 28])
Labels batch shape: torch.Size([2000])
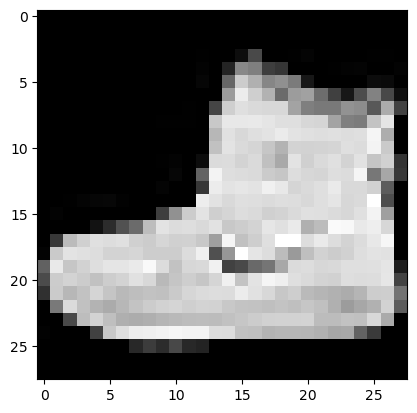
Label: 9
Step 3: Define the Neural Network#
We define a simple feedforward neural network for classification.
[9]:
class SimpleNN(nn.Module):
    def __init__(self):
        super().__init__()
        self.flatten = nn.Flatten()
        self.fc1 = nn.Linear(28 * 28, 128)
        self.fc2 = nn.Linear(128, 10)

    def forward(self, x):
        x = self.flatten(x)
        x = torch.relu(self.fc1(x))
        x = self.fc2(x)
        return x
[10]:
# Instantiate the model
model = SimpleNN()
model
[10]:
SimpleNN(
  (flatten): Flatten(start_dim=1, end_dim=-1)
  (fc1): Linear(in_features=784, out_features=128, bias=True)
  (fc2): Linear(in_features=128, out_features=10, bias=True)
)
Step 4: Define Loss Function and Optimizer#
We use Cross-Entropy Loss and the Adam optimizer.
[11]:
loss_fn = nn.CrossEntropyLoss()
optimizer = optim.Adam(model.parameters(), lr=0.001)
Step 5: Train the Model#
We train the model using the data loader.
[12]:
%%time

epochs = 5

for epoch in range(epochs):
    print(f'Epoch {epoch+1}/{epochs}')
    for batch, (X, y) in enumerate(train_dataloader):
        # Forward pass
        predictions = model(X)
        loss = loss_fn(predictions, y)

        # Backward pass
        optimizer.zero_grad()
        loss.backward()
        optimizer.step()

        if batch % 10 == 0:
            print(f'Batch {batch}: Loss = {loss.item():.4f}')

print('Training completed!')
Epoch 1/5
Batch 0: Loss = 2.3113
Batch 10: Loss = 1.3391
Batch 20: Loss = 0.8880
Epoch 2/5
Batch 0: Loss = 0.7561
Batch 10: Loss = 0.6848
Batch 20: Loss = 0.6099
Epoch 3/5
Batch 0: Loss = 0.5949
Batch 10: Loss = 0.5653
Batch 20: Loss = 0.5309
Epoch 4/5
Batch 0: Loss = 0.5248
Batch 10: Loss = 0.5104
Batch 20: Loss = 0.4874
Epoch 5/5
Batch 0: Loss = 0.4848
Batch 10: Loss = 0.4784
Batch 20: Loss = 0.4610
Training completed!
CPU times: user 10.2 s, sys: 1.34 s, total: 11.6 s
Wall time: 38 s
Step 6: Evaluate the Model#
You can evaluate the model on the test set or visualize some predictions.
[13]:
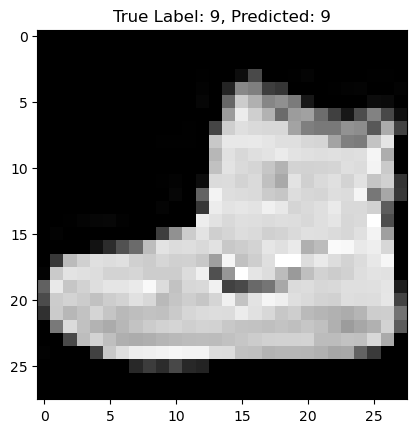
# Visualize a sample prediction
img = train_features[0].squeeze()
label = train_labels[0]
predicted_label = torch.argmax(model(train_features[0:1]), dim=1).item()

plt.imshow(img, cmap='gray')
plt.title(f'True Label: {label}, Predicted: {predicted_label}')
plt.show()
Key Highlights#
Data Handling: We use Xbatcher to create efficient, chunked data pipelines from Xarray datasets.
Integration: The
xbatcher.loaders.torch.MapDataset enables direct compatibility with PyTorch’s DataLoader.Training: PyTorch simplifies the model training loop while leveraging the custom data pipeline.